Introduction
The idea of investing in the stock market can feel overwhelming when you are doing it for the first time. Prices moving up and down every minute, news channels talking about Sensex and Nifty, and everyone around you seeming to have an opinion — it can all feel like a lot.
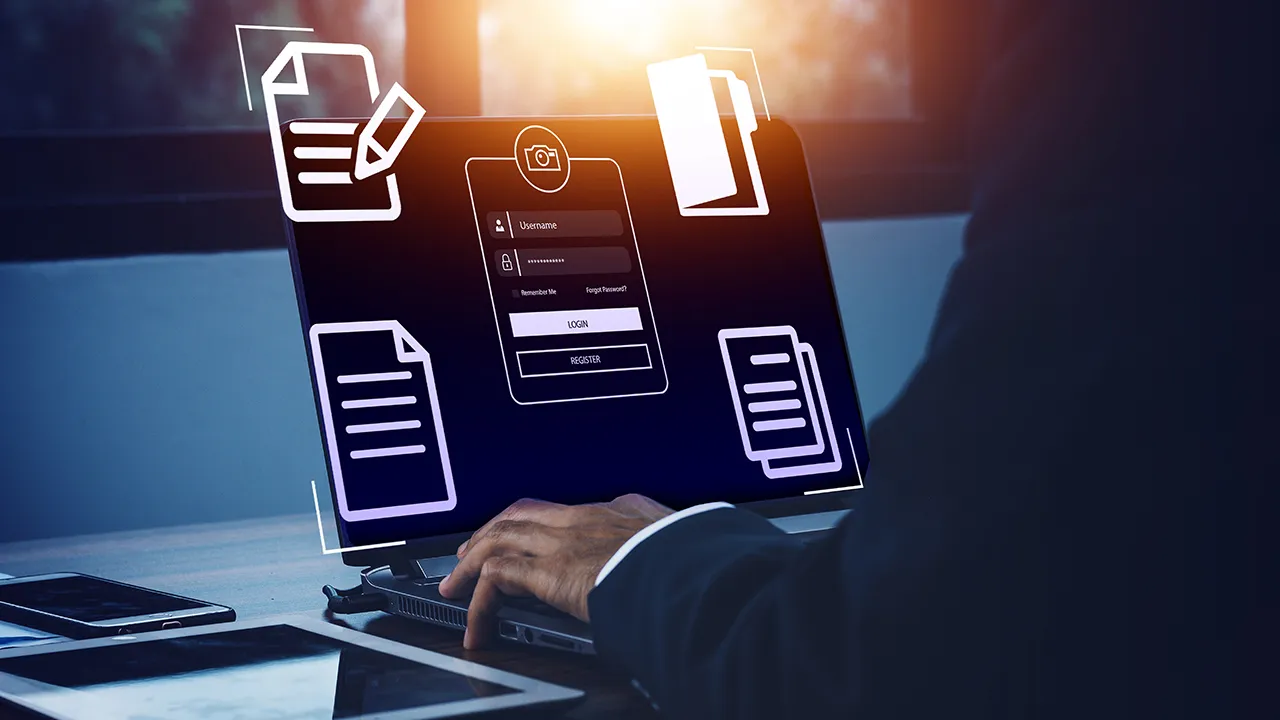
But here is the truth: getting started with stock market investing is simpler than most people think. And the first practical step is not picking the perfect stock. It is setting up the right account — a demat account — which acts as your digital locker for holding shares and securities.
This guide walks you through everything you need to know to move from a complete beginner to someone with an active, ready-to-use investment account. No jargon, no shortcuts — just a clear, practical path forward.
What Is a Demat Account and Why Do You Need One?
A demat account — short for dematerialised account — is where all your shares, ETFs, bonds, and mutual fund units are stored electronically. Before demat accounts became standard in India, investors held physical share certificates, which were prone to damage, theft, and complex transfer processes.
Today, every investment you make in the stock market requires a demat account. When you buy shares, they get credited to this account. When you sell, they get debited. It is as straightforward as a bank account, but for securities.
A demat account is always paired with a trading account, which allows you to place buy and sell orders. Many brokers offer both together under a single onboarding process.
How to Open a Free Demat Account: A Step-by-Step Walkthrough
The process to open a free demat account has become entirely digital in recent years. You no longer need to visit a branch or fill out physical forms. Here is what the process typically looks like:
Step 1: Choose a SEBI-Registered Broker
Your demat account is opened through a Depository Participant (DP), which could be a full-service broker or a discount broker. SEBI regulates all brokers in India, so always verify the registration before proceeding.
Step 2: Keep Your Documents Ready
You will need the following:
- PAN card (mandatory)
- Aadhaar card for KYC verification
- A bank account (for fund transfers)
- A passport-size photograph
- Signature on a plain white paper (for some platforms)
Step 3: Complete the Online Application
Visit the broker’s website or app, fill in your personal details, upload your documents, and verify your identity through an OTP sent to your Aadhaar-linked mobile number. The entire process is now paperless thanks to Aadhaar-based e-KYC.
Step 4: Complete In-Person Verification (If Required)
Some brokers may ask for an in-person verification (IPV), which can now be done via video call. This is usually a short two-minute process.
Step 5: Account Activation
Once your documents are verified, your demat and trading accounts are activated — typically within one to three business days. You will receive your login credentials, and you are ready to start investing.
Understanding the Costs Involved
While many brokers offer a free account opening, there are ongoing charges you should be aware of:
- Annual Maintenance Charges (AMC): Charged by the depository (CDSL or NSDL) for maintaining your demat account, usually Rs 150 to Rs 750 per year.
- Transaction charges: Levied per trade — typically a flat fee for discount brokers (Rs 20 per order) or a percentage-based fee for full-service brokers.
- SEBI turnover fees and STT (Securities Transaction Tax): These are regulatory charges applied on all trades.
If you choose the right broker, your net cost of investing can be kept extremely low, especially if you are a long-term investor who does not trade frequently.
How to Use a Demat Account Once It Is Active
Opening an account is just the beginning. Knowing how to use a demat account effectively is what determines how well your investments perform over time. Once your account is active, here is what you can do with it:
- Buy and sell listed equity shares on NSE and BSE
- Invest in ETFs like NiftyBees, Gold BeES, or Bharat Bond ETF
- Hold government bonds, corporate bonds, and sovereign gold bonds
- Track your portfolio value in real time
- Monitor your profit and loss statements for tax purposes
Most modern trading apps also offer features like price alerts, market news, analyst reports, and SIP options for ETFs — all accessible from your smartphone.
Common Mistakes First-Time Investors Should Avoid
Before you start placing orders, here are a few pitfalls that catch many new investors off guard:
- Investing without a goal — Know whether you are investing for retirement, a home purchase, or your child’s education. Your goal determines your time horizon and risk appetite.
- Over-trading — Buying and selling too frequently increases your cost and can erode your returns.
- Ignoring diversification — Do not put all your money into one or two stocks. Spread your investments across sectors and asset classes.
- Not keeping nominee details updated — Always add a nominee to your demat account so your investments can be transferred easily in an unforeseen situation.
Your First Investment: Where to Begin
Once your account is set up, a common question is — what should I buy first? For most beginners in India, index ETFs are the safest and most recommended starting point. They give you exposure to the top 50 companies in India with a single purchase, at a very low cost.
After you get comfortable with how the market works, you can gradually explore individual stocks, sector-specific ETFs, or even international ETFs for global diversification.
The most important thing is to start. Waiting for the perfect moment to invest is one of the most common mistakes investors make. Time in the market consistently beats timing the market — and the earlier you open a free demat account and start, the more your investments can compound over the years ahead.